Procedural Island Generation (VI)
This is the final installment of our procedural island generation series. After building the mesh foundation (Part I), painting elevation hints (Part II), adding mountain detail (Part III), simulating hydrology (Part IV), and colouring the terrain with our biome ramp (Part V), it is time to package the result. CartoKit finishes by baking the terrain into a compact mesh, visualising it through an egui viewer, and exporting artefacts for other tools.
The journey from mathematical representation to visual output ends with three components:
Terrain::from_terrain– a baked mesh carrying elevation, moisture, biome, and river metadata.- The debug renderer & viewer – CPU rasterisers that turn the data into diagnostic images.
- Export helpers – GLB export, PNG captures, and GIF generation built on the same primitives.
Let’s look at each piece.
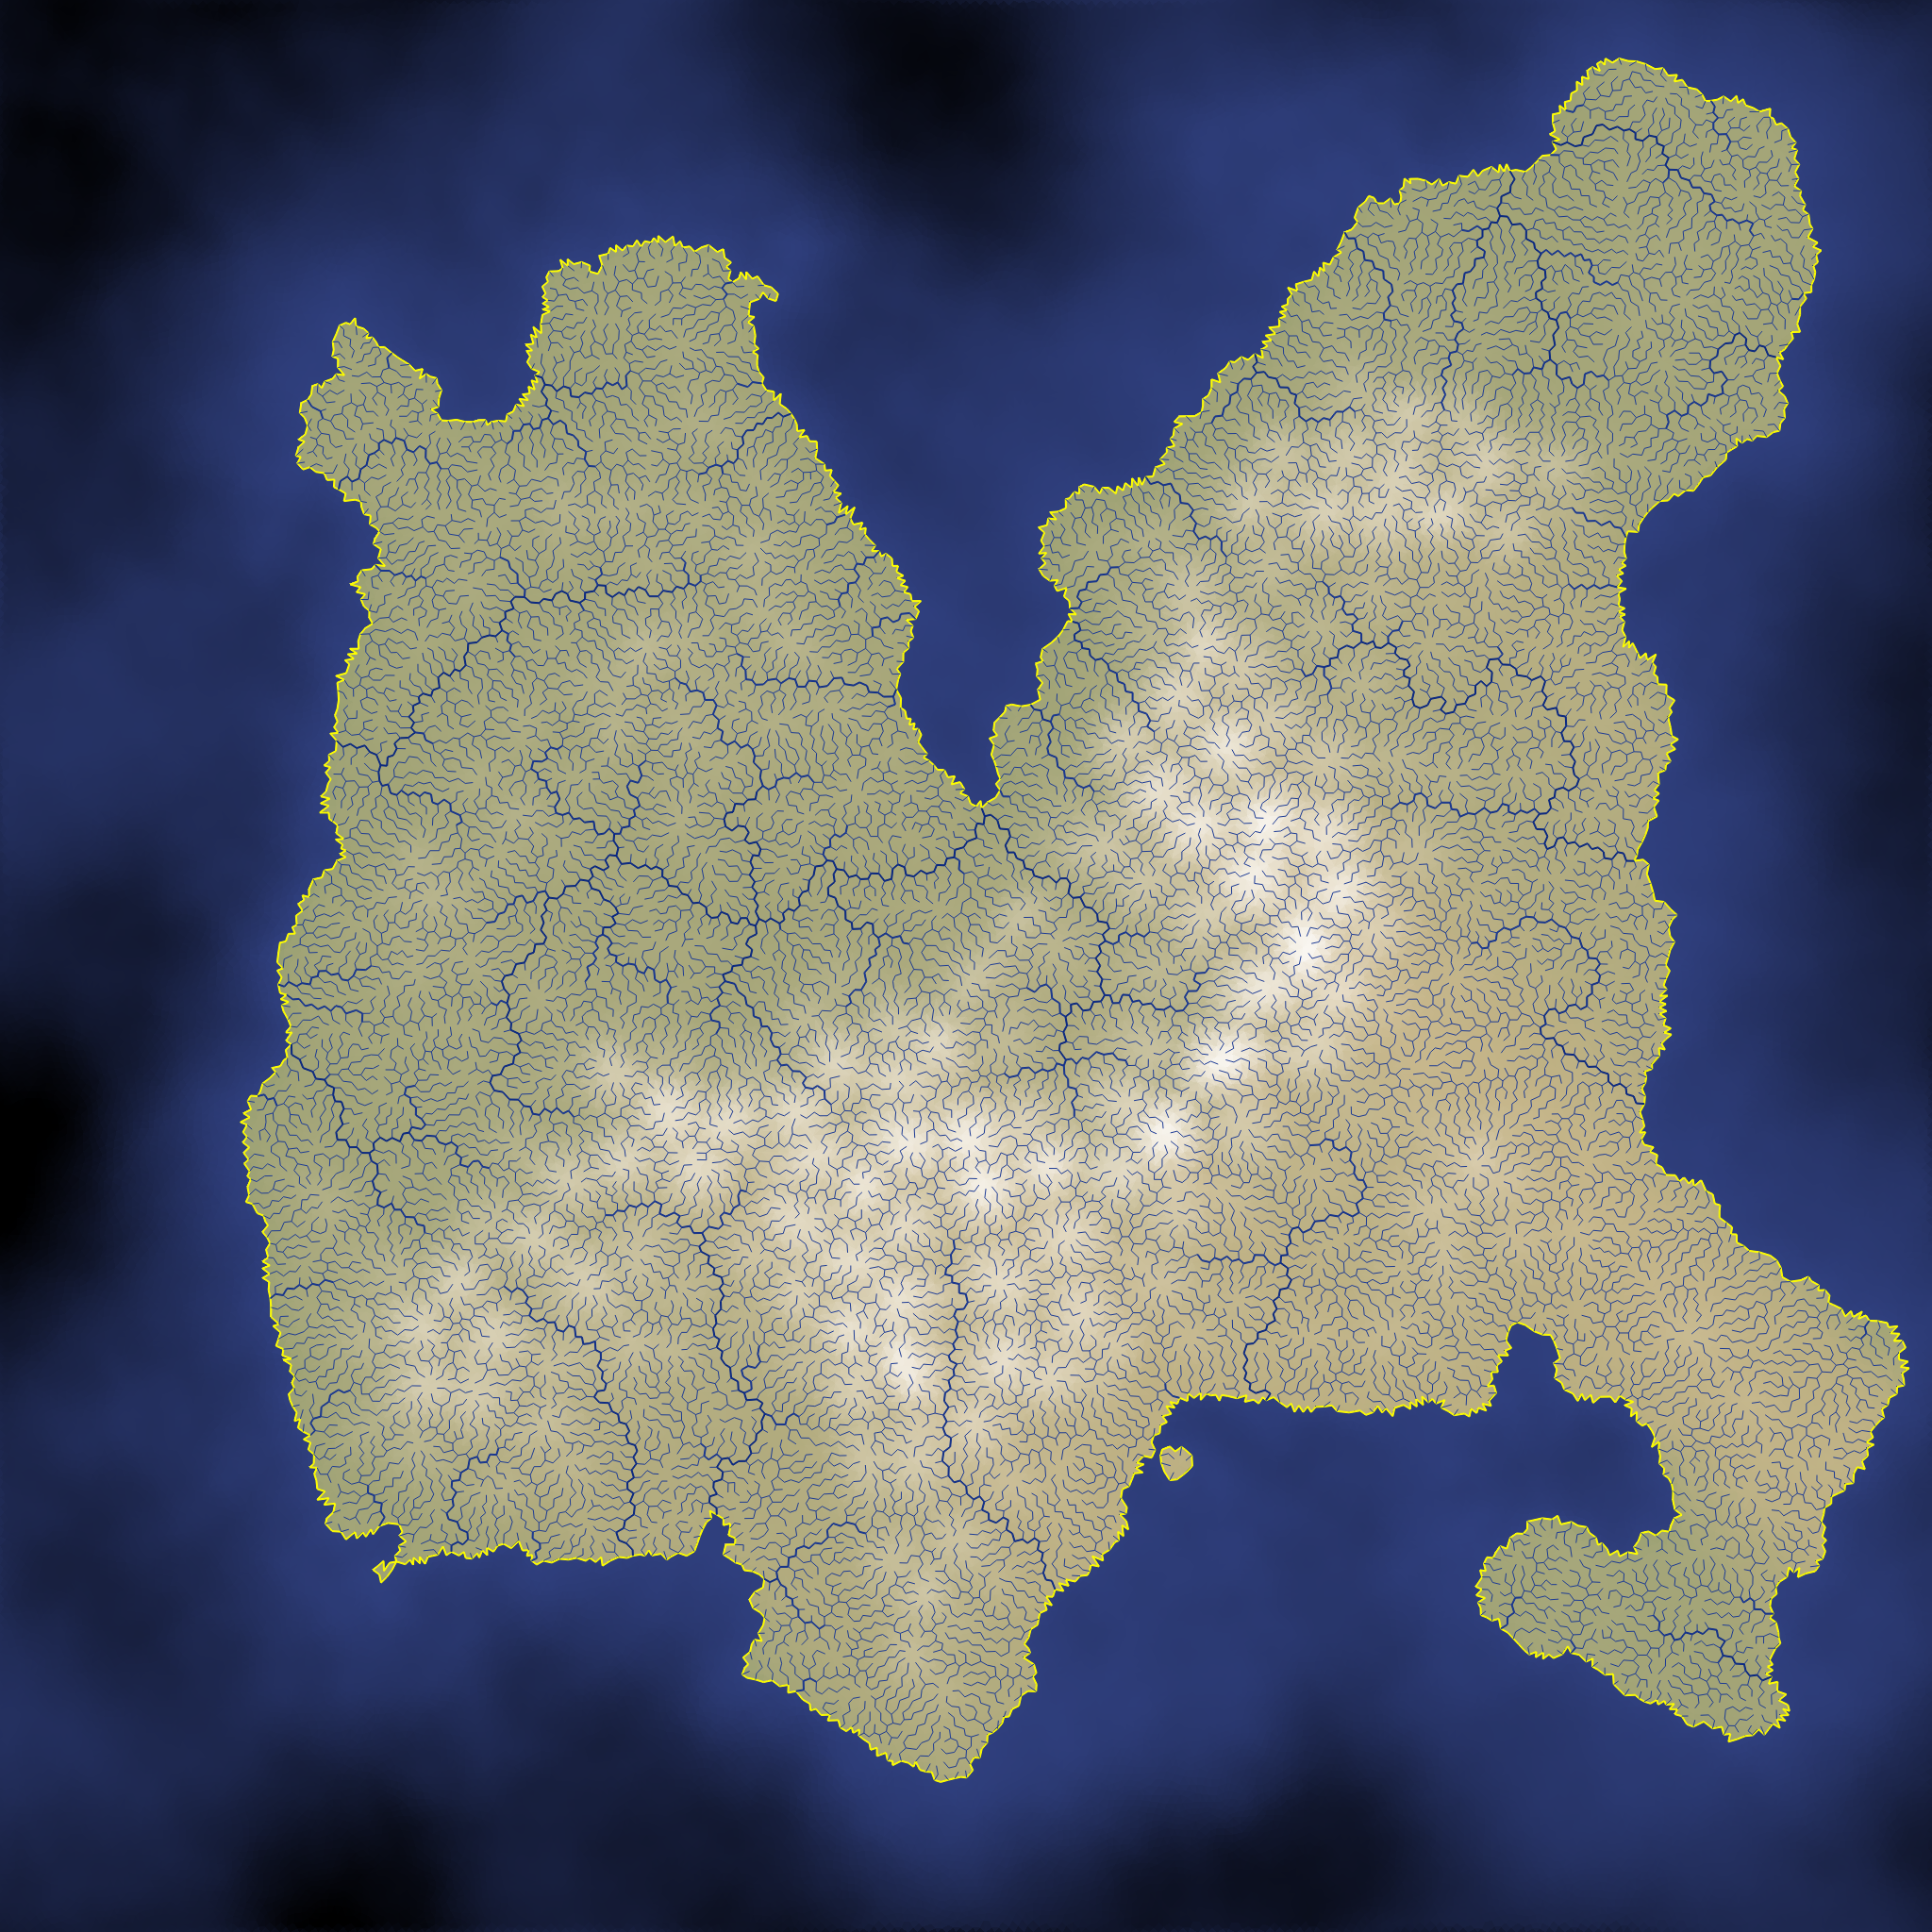
Baked Terrain Output
Terrain::from_terrain (src/terrain.rs:368) distils the incremental TerrainBuilder state into a reusable asset. The bake step:
- Keeps only faces whose centroids lie inside the unit square, trimming the guard ring used during generation.
- Copies vertex elevation and moisture into mesh attributes so downstream tools can query them directly.
- Tags every face with average elevation, a
TerrainType(land vs. ocean), and the coarseBiomeTypeclassification introduced in Part V. - Marks edges as regular, coastline, or river and stores river-flow magnitudes when a
RiverSystemis present.
The baked mesh is still a TopoMesh, meaning we retain the halfedge connectivity that made the earlier stages convenient. When you call Terrain::from_terrain(&builder), you get a self-contained structure that is ready for export or further processing without touching the heavy generation code again.
CPU Debug Renderer
All of CartoKit’s imagery is rendered on the CPU. The cartokit::debug module contains a suite of rasterisers—triangle fill, watertight line drawing, paint-map sampling, rainfall heatmaps—that output directly into image::RgbaImage buffers. The viewer’s DisplayRenderer (examples/viewer/display_modes.rs) wires those helpers together:
- Mesh modes (
SeedPoints,Delaunay,Voronoi,Quads,FinalTriangulation) calldraw_topokit_meshwith optional vertex overlays. - Scalar fields (
TriangleElevation,DistanceField,Rainfall,Humidity,RiverFlow,Biome) delegate todraw_triangles_opt/draw_regions_optwith palette swaps. - Noise visualisations reuse the same pipeline, just swapping in different
TrianglePropertyvariants.
Because everything renders to software images, the viewer behaves the same on every platform, and the exported screenshots and GIFs are bit-for-bit identical to what you see on screen.
Interactive Viewer
The cartokit_viewer example wraps those images in an egui/eframe interface:
- The right-hand parameter panel exposes seeds, Bridson separation, rainfall, and river controls, regenerating the terrain whenever you tweak them.
- The “Paint Terrain” mode lets you brush elevation hints onto the 128×128 paint map; the next regeneration integrates those hints into the terrain.
- Display modes cover the full pipeline: seed classification, mesh structure, mountain distance fields, rainfall, humidity, river diagnostics, biome colours, and the final shaded map.
- Animation tools (
examples/viewer/animation.rs) let you scrub parameters over time and queue frame exports.
Each frame, the viewer renders the active mode into an RgbaImage, uploads it as an egui texture, and then recycles the same image for exports. There is no separate rendering path—what you export is exactly what you preview.
Export Helpers
Three helpers in examples/viewer/export.rs turn the baked data into files:
// 1. Bake + GLB export via MeshKit
display::export_mesh(&terrain_builder, seed);

// 2. One PNG per display mode
display::export_all_images(seed, &modes, |mode| renderer.render(mode));

// 3. Thumbnail tiles for quick comparisons
display::export_all_images_tile(seed, &modes, |mode| renderer.render(mode));
export_meshclones the bakedTerrain, rescales coordinates for GLTF’s Y‑up convention, and callsmeshkit::io::save_meshto produce a.glbfile that loads cleanly in Blender or other viewers.export_all_imageswalks every display mode and drops the rendered PNGs intoexports/images_seed_<seed>/.export_all_images_tilecuts out the top-left 1/8×1/8 tile from each image—handy for diffing or documentation thumbnails.
For animated parameter studies, examples/viewer/gif_export.rs converts a list of pre-rendered frames into a looping GIF, with options for downsampling, FPS, and output directory naming.
Performance Snapshot
Generation times were covered in the earlier posts (≈80 ms for the default 27 K-site map on a modern desktop). The finishing steps add little overhead:
| Stage | Time (2048×2048 render) |
|---|---|
Terrain::from_terrain bake |
~6 ms |
| CPU render – biome view | ~8 ms |
GLB export (meshkit::io::save_mesh) |
~15 ms |
| PNG capture per display mode | 5–10 ms |
| GIF encoding (20 frames @ 1024²) | ~9 ms |
Numbers vary with map resolution and active mode (mesh overlays with AA lines take longer than simple heatmaps), but everything remains comfortably interactive.
Future Directions
With a solid foundation in place, the obvious extensions are clear:
- GPU shading – real-time lighting, water reflections, and atmospheric effects on top of the baked mesh.
- Mesh decimation – level-of-detail generation or streaming tiles for massive worlds.
- Additional exporters – heightmaps, splatmaps, or direct integrations for Unity/Unreal/Godot.
- Dynamic overlays – weather, vegetation instancing, or settlement placement driven by the existing attributes.
These items all build on the baked Terrain structure and export scaffolding we now have.
Conclusion
Through six posts we moved from random seeds to a fully packaged island:
- Poisson disk sampling and dual meshes establish the geometric scaffold.
- A paint map and layered noise sculpt elevation.
- Hydrology adds rivers and erosion cues.
- A simple elevation/moisture colormap paints believable biomes.
- The baked
Terrain, debug renderer, and export helpers ship the result.
The complete system generates a richly annotated island in under a tenth of a second and provides everything you need to inspect, tweak, and export it. The modular architecture welcomes experimentation—swap out any component and the rest of the pipeline keeps working.
Thanks for following along. I hope CartoKit inspires your own explorations into procedural worlds.
Valuable Resources
- MeshKit – Halfedge library used throughout the project
- EGUI – Immediate-mode GUI powering the viewer
- glTF 2.0 – Asset format we export to
- Red Blob Games: Polygonal Map Generation – Foundational reading for the dual-mesh approach